
Detailed Procedure for Installing External Wall Insulation Mesh
2026-09-20
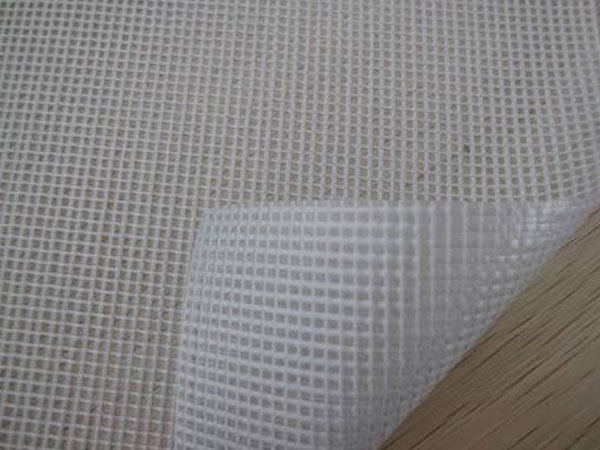
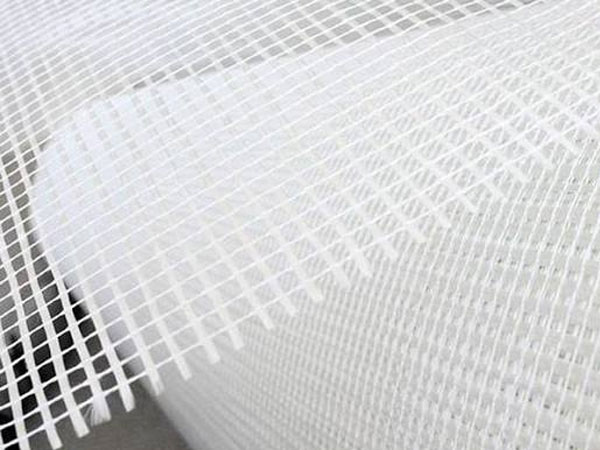
External wall insulation mesh—also known as fiberglass mesh—is widely used on construction sites due to its excellent structural stability, high strength, alkali resistance, and anti-corrosion and crack-resistant properties. It effectively resists structural deformation caused by external impacts and enhances the stability of both interior and exterior building surfaces, thereby preventing wall cracking. Below, we detail the installation process for external wall insulation mesh in five steps to provide a comprehensive understanding of the entire procedure.
Step 1: Base Wall Preparation. First, plaster the wall and level any uneven areas using 1:2 cement mortar. Next, check the wall's flatness with a 2-meter straightedge, ensuring deviations remain within 3mm, while also verifying the squareness of internal and external corners. The base surface must be smooth, solid, and dry, and free from contaminants or other harmful materials.
Step 2: Marking Layout Lines. Based on the building facade design and technical requirements for external wall insulation, mark horizontal and vertical control lines for exterior doors and windows on the wall surface. Additionally, establish reference lines—specifically horizontal lines at appropriate positions on each floor—to control the verticality and flatness of the polystyrene (EPS) boards.
Step 3: Preparing Polymer Mortar Adhesive and Bonding Polystyrene (EPS) Boards. Prepare the polymer mortar as needed for immediate use. When bonding the EPS boards, use the "dot-and-frame" adhesive method, ensuring the bonded area covers at least 30% of the EPS board's surface. Strictly control the board thickness and placement to ensure alignment with the construction drawings.
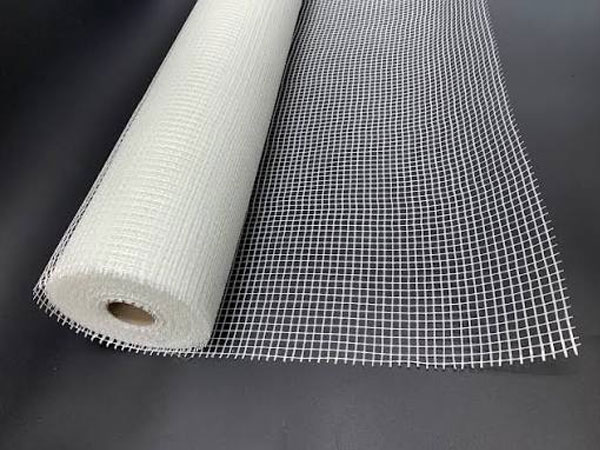
Step 4: Installing Anchors and Bonding Fiberglass Mesh. Secure the EPS boards using mechanical anchors, applying additional fasteners where required. Note that sanding may only commence 24 hours after the EPS boards are bonded. Before applying the fiberglass mesh, coat the insulation boards with a layer of polymer mortar. Then, cut mesh sections from the roll to the predetermined lengths and widths, allowing for necessary overlap at the joints. Finally, position the mesh over the base layer of polymer mortar, ensuring the curved side faces the wall, and smooth it out by working from the center toward the edges.
Step 5: Application of the finish-coat polymer crack-resistant mortar. After embedding the mesh into the base-coat polymer mortar, begin applying the finish-coat mortar. First, press the mesh into the mortar. Next, fill the grooves in the mesh layer with a sufficient amount of polymer mortar and press the prefabricated plastic drip bead into the corresponding groove in the polystyrene board. Apply polymer mortar evenly over the mesh, ensuring a uniform thickness. Apply adhesive polymer mortar around the perimeter of doors, windows, and openings in the base wall, as well as at the system terminations. Embed a 100mm section of the cut mesh into the adhesive mortar, ensuring the mesh openings are completely covered. Remove any excess mortar from the edges to keep the mesh edges clean.
This concludes the installation process for the exterior wall insulation mesh. Please note that the preparation of the polymer mortar must be handled by designated personnel; non-professionals should not perform this task to ensure proper mixing quality. Additionally, the thickness and placement of the polystyrene boards must strictly adhere to the construction drawings to prevent significant errors caused by minor discrepancies.
Step 1: Base Wall Preparation. First, plaster the wall and level any uneven areas using 1:2 cement mortar. Next, check the wall's flatness with a 2-meter straightedge, ensuring deviations remain within 3mm, while also verifying the squareness of internal and external corners. The base surface must be smooth, solid, and dry, and free from contaminants or other harmful materials.
Step 2: Marking Layout Lines. Based on the building facade design and technical requirements for external wall insulation, mark horizontal and vertical control lines for exterior doors and windows on the wall surface. Additionally, establish reference lines—specifically horizontal lines at appropriate positions on each floor—to control the verticality and flatness of the polystyrene (EPS) boards.
Step 3: Preparing Polymer Mortar Adhesive and Bonding Polystyrene (EPS) Boards. Prepare the polymer mortar as needed for immediate use. When bonding the EPS boards, use the "dot-and-frame" adhesive method, ensuring the bonded area covers at least 30% of the EPS board's surface. Strictly control the board thickness and placement to ensure alignment with the construction drawings.
Step 4: Installing Anchors and Bonding Fiberglass Mesh. Secure the EPS boards using mechanical anchors, applying additional fasteners where required. Note that sanding may only commence 24 hours after the EPS boards are bonded. Before applying the fiberglass mesh, coat the insulation boards with a layer of polymer mortar. Then, cut mesh sections from the roll to the predetermined lengths and widths, allowing for necessary overlap at the joints. Finally, position the mesh over the base layer of polymer mortar, ensuring the curved side faces the wall, and smooth it out by working from the center toward the edges.
Step 5: Application of the finish-coat polymer crack-resistant mortar. After embedding the mesh into the base-coat polymer mortar, begin applying the finish-coat mortar. First, press the mesh into the mortar. Next, fill the grooves in the mesh layer with a sufficient amount of polymer mortar and press the prefabricated plastic drip bead into the corresponding groove in the polystyrene board. Apply polymer mortar evenly over the mesh, ensuring a uniform thickness. Apply adhesive polymer mortar around the perimeter of doors, windows, and openings in the base wall, as well as at the system terminations. Embed a 100mm section of the cut mesh into the adhesive mortar, ensuring the mesh openings are completely covered. Remove any excess mortar from the edges to keep the mesh edges clean.
This concludes the installation process for the exterior wall insulation mesh. Please note that the preparation of the polymer mortar must be handled by designated personnel; non-professionals should not perform this task to ensure proper mixing quality. Additionally, the thickness and placement of the polystyrene boards must strictly adhere to the construction drawings to prevent significant errors caused by minor discrepancies.
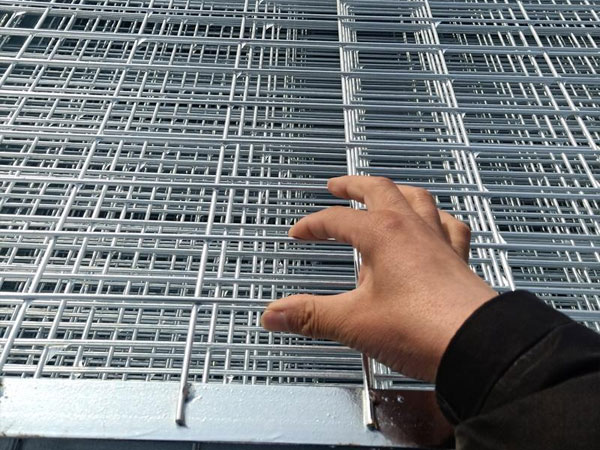 What role does hot-dip galvanizing technology play in guardrail products?
 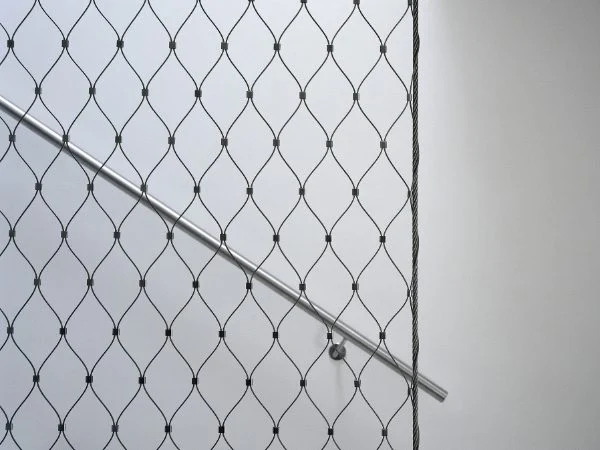 When it comes to balcony safety, it is worth learning more about stainless steel cable mesh fall-prevention netting.
 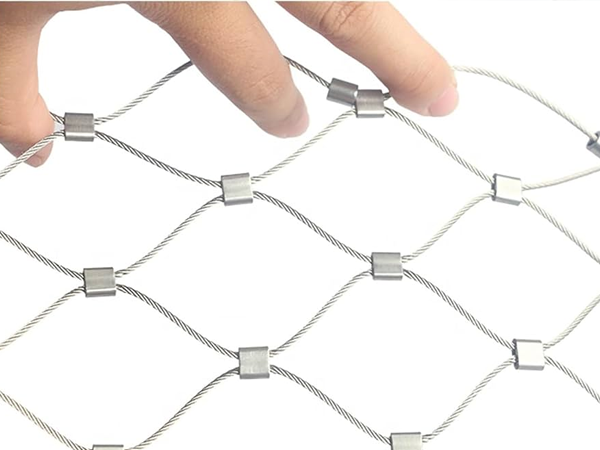 Understanding the Multifaceted Engineering Value of Stainless Steel Rope Mesh
  How to determine whether manufactured welded wire mesh meets quality standards
 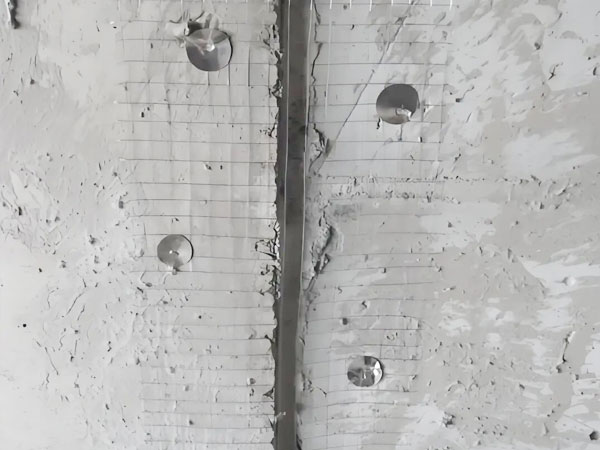 Why is mesh used for wall plastering?
 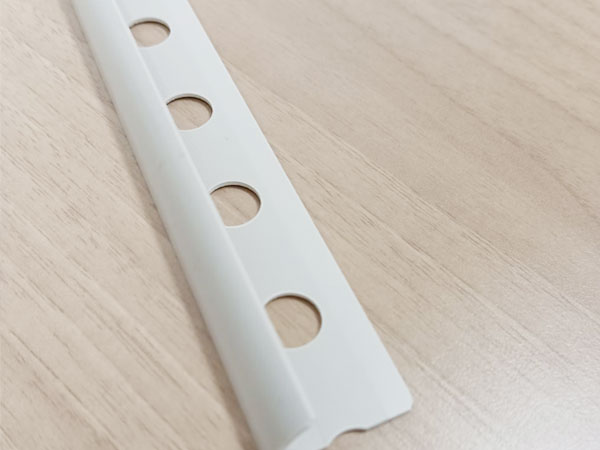 Four simple steps to teach you how to install wall corner protectors
 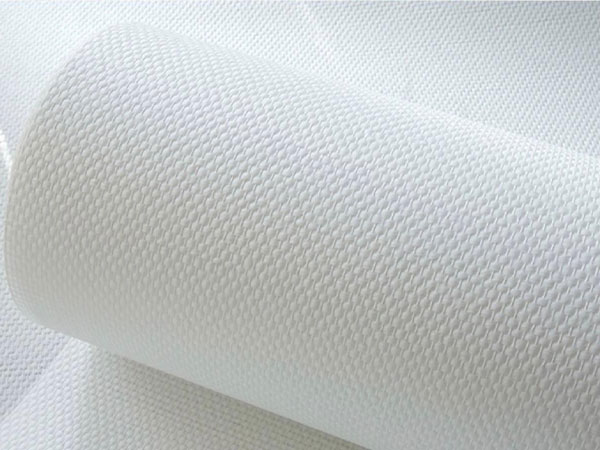 How to make the mesh fabric adhere more firmly during external wall insulation?
 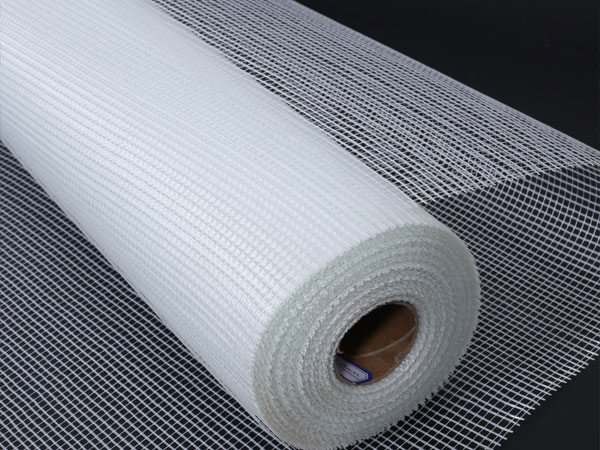 4 Practical Tips for Buying Fiberglass Mesh
 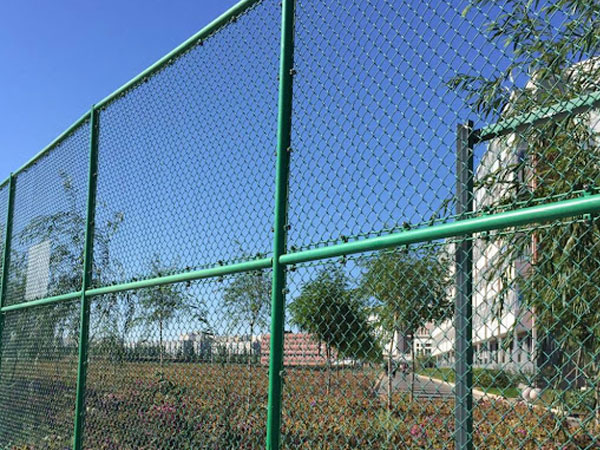 How to Choose Chain-Link Mesh
 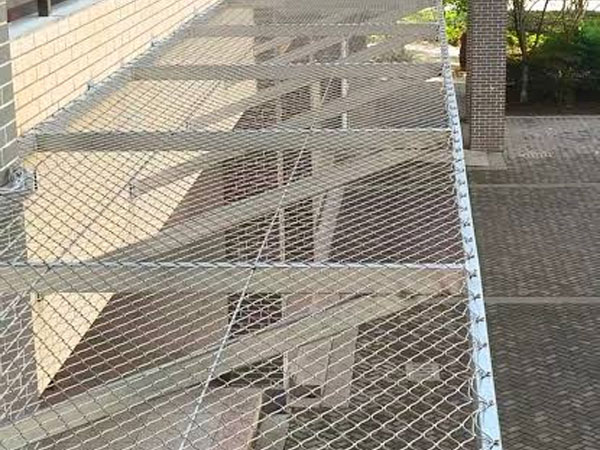 Five Key Reasons to Choose Stainless Steel Rope Mesh: Reliability and Cost-Effectiveness
 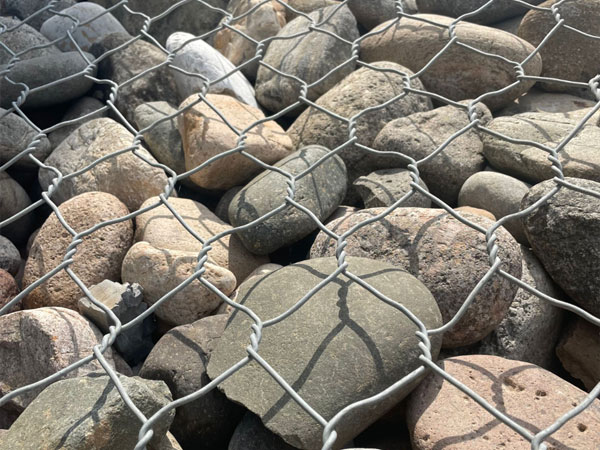 How can gabion mesh be applied in complex terrain?
 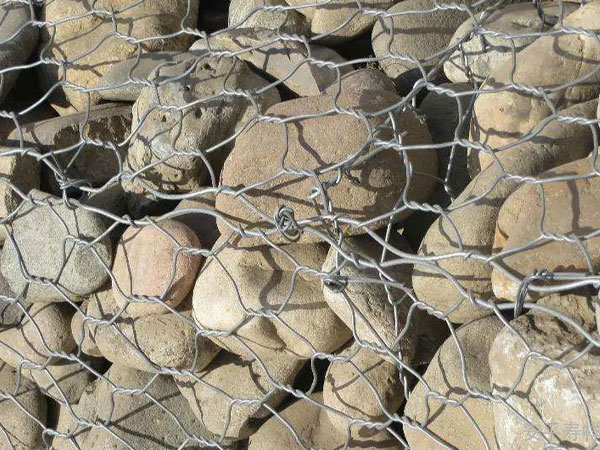 How much do you know about the tensile strength and elongation of Gabion mesh?
  How to distinguish the quality of fiberglass mesh?
  Can magnets attract stainless steel wire mesh?
  Introduction to two methods of weaving netting
  Features and uses of zinc-coated steel guardrails
  What material is best for welded wire mesh?
  Stadium fencing also has these features
  What is the difference between alkali-resistant fiberglass mesh and standard fiberglass mesh?
  What are the quality assurance testing standards for GB 304 stainless steel mesh?